
From wax to water, casting stainless steel fittings for yachts
Every stainless fitting we ship, from the stopper caps that close off a Burnewiin interface to the folding cleats on a tender, starts life as a digital model and ends up on a boat. In between sits a process that hasn't fundamentally changed in three thousand years: lost-wax casting. What has changed is how we get to the wax. Here's how a stopper cap and a cleat move from screen to stainless.
1. 3D-printed wax patterns
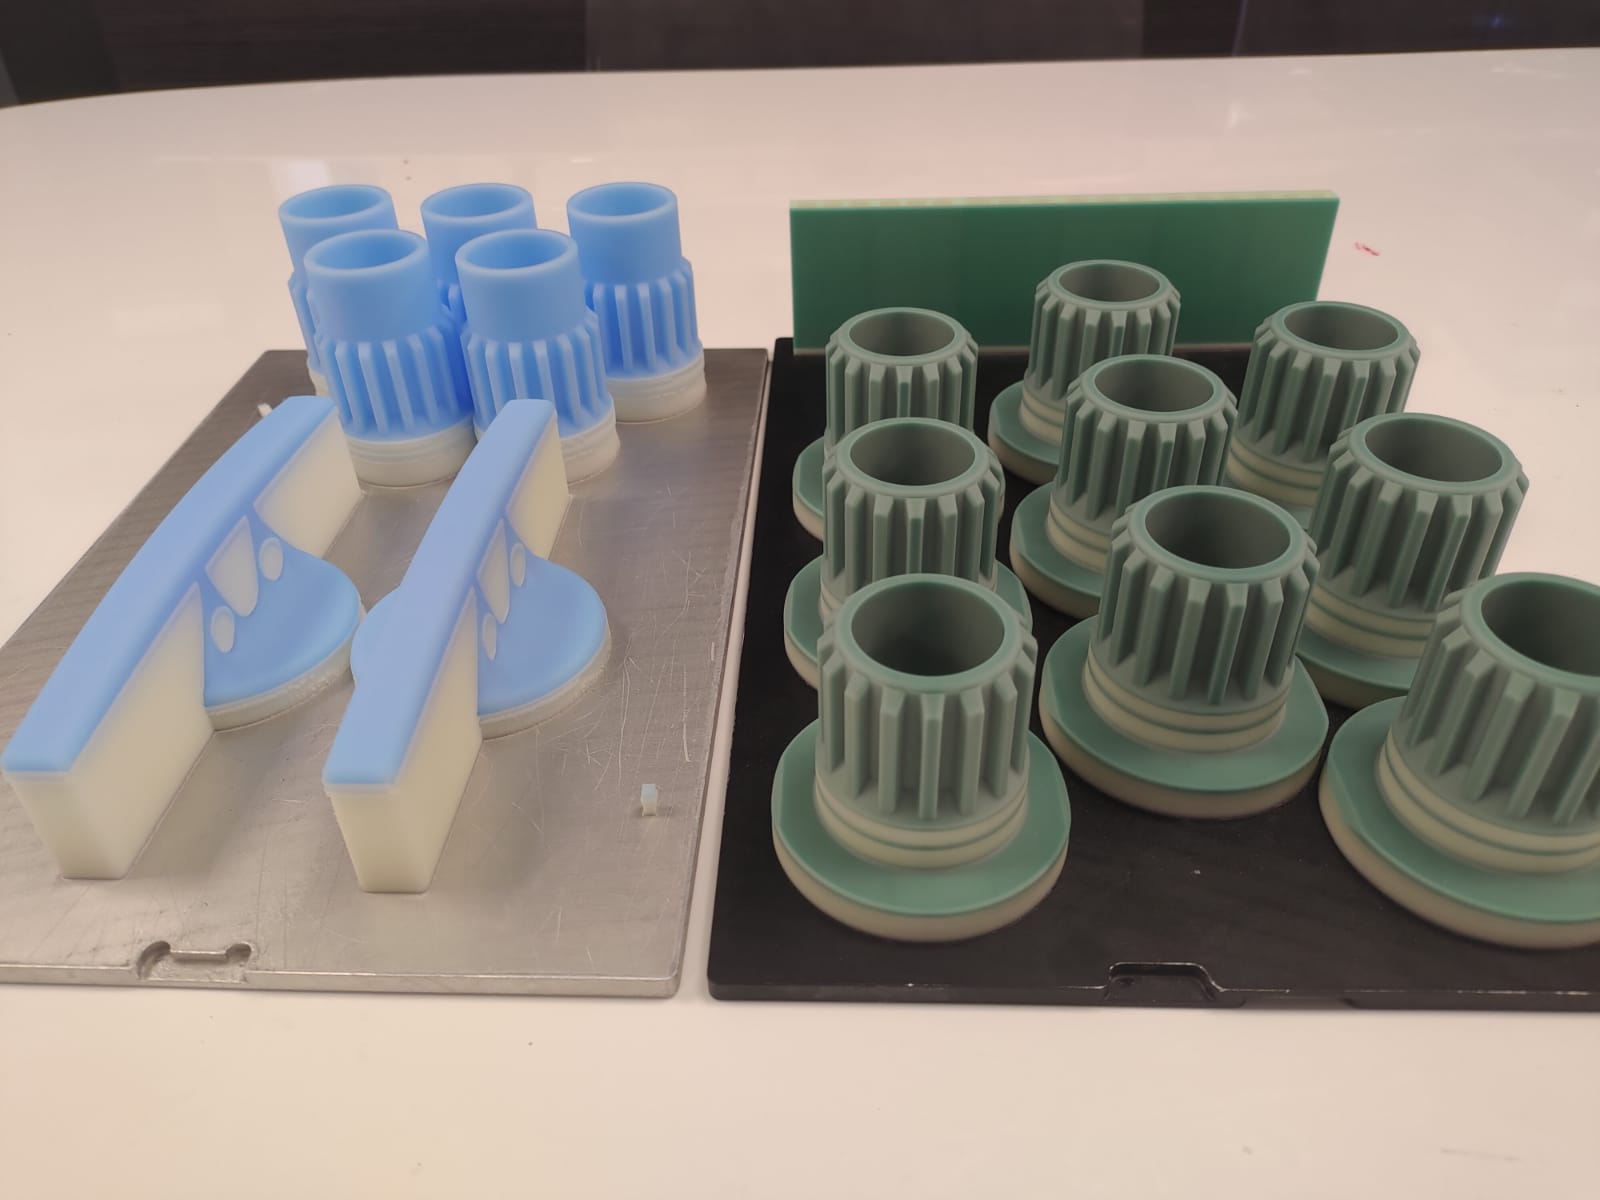
It starts on the printer. Instead of cutting a metal tool, slow, expensive, and only worth it for very large runs, we print the patterns directly in casting wax. Five stopper caps and two cleats off a single build. The geometry matches the CAD model exactly, there's no tooling lead time, and we can revise the design between batches if we need to.
2. Wax patterns ready for gating
Off the build plate, cleaned up, and lined up side by side. At this stage the parts are identical to what they'll be in stainless, just a fraction of the weight, and bright blue and green so we can see every surface.
3. Gating the pattern
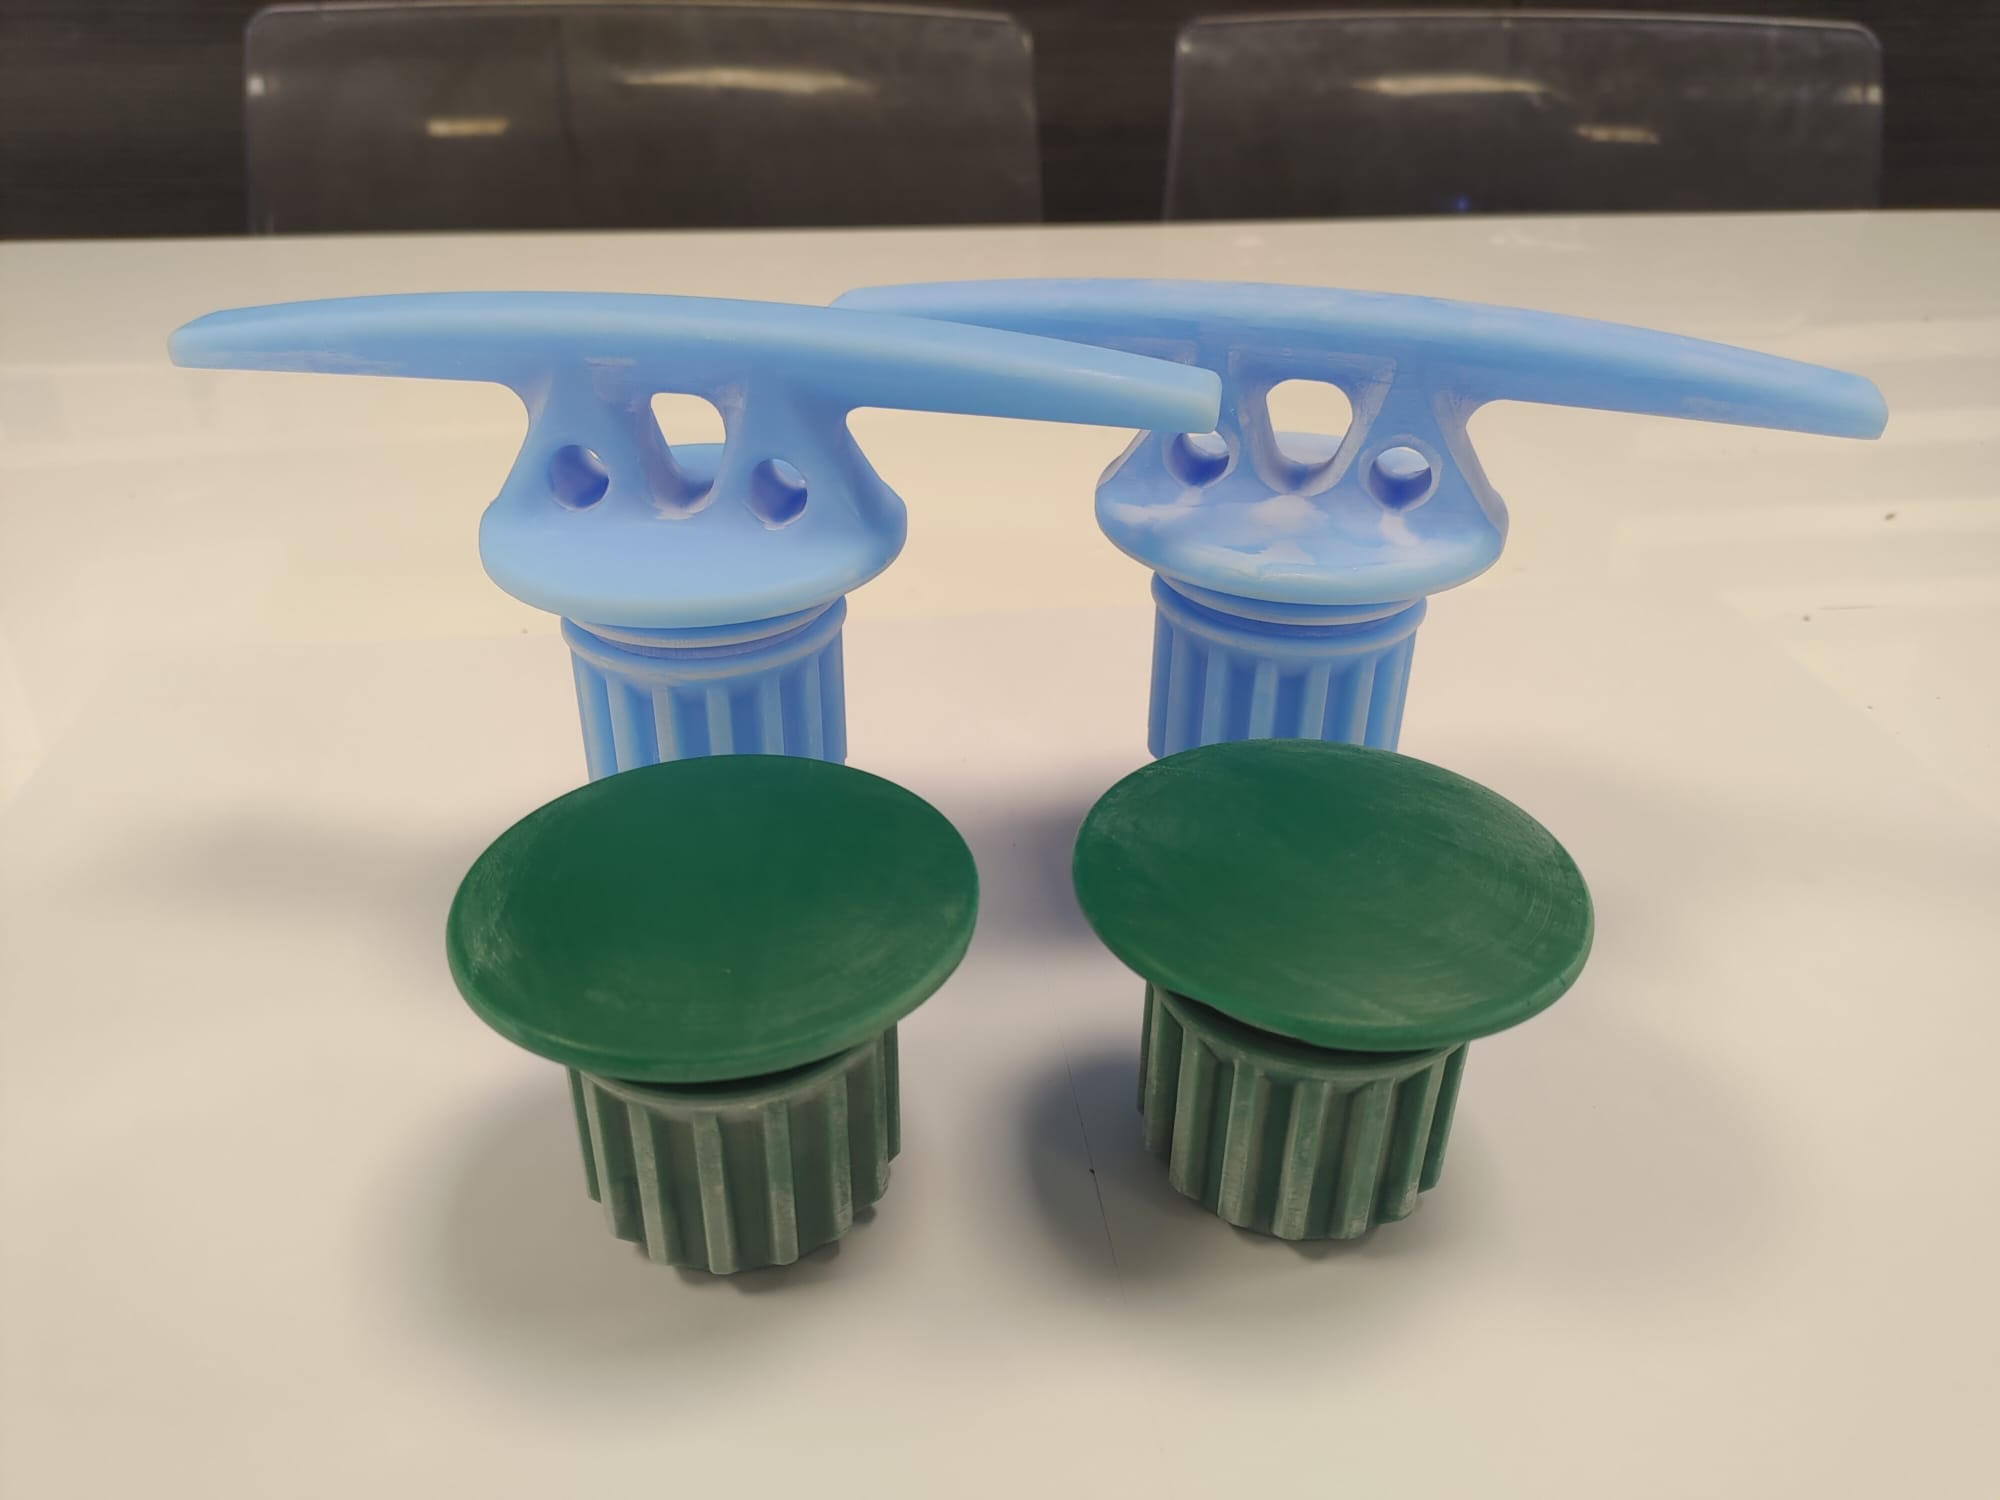
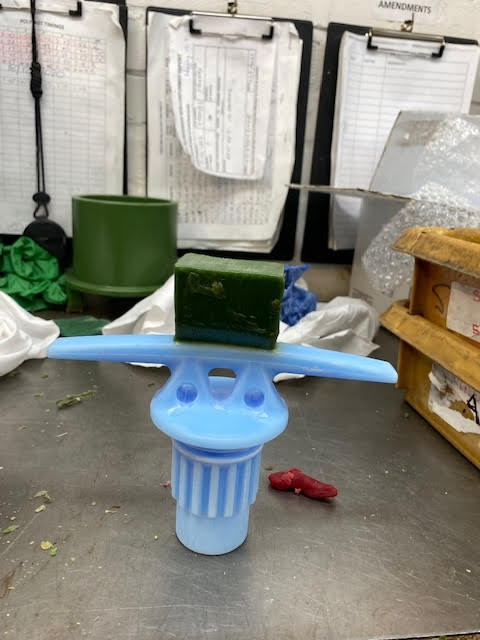
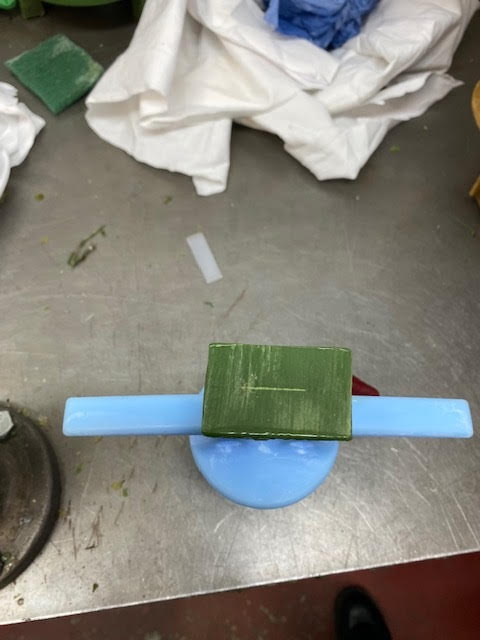
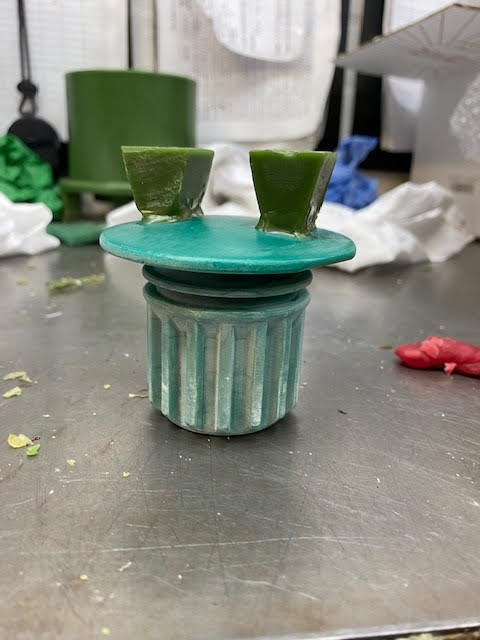
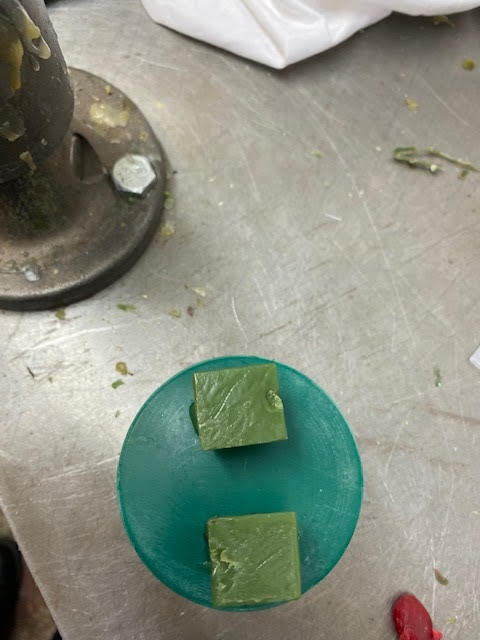
Each wax pattern gets a gate added by hand, the channel the molten stainless will run through to reach the part. Position and size matter: get it wrong and you trap air, or starve a section of the cast. The gated patterns are then assembled onto a central wax sprue to build up the "tree".
4. The ceramic shell
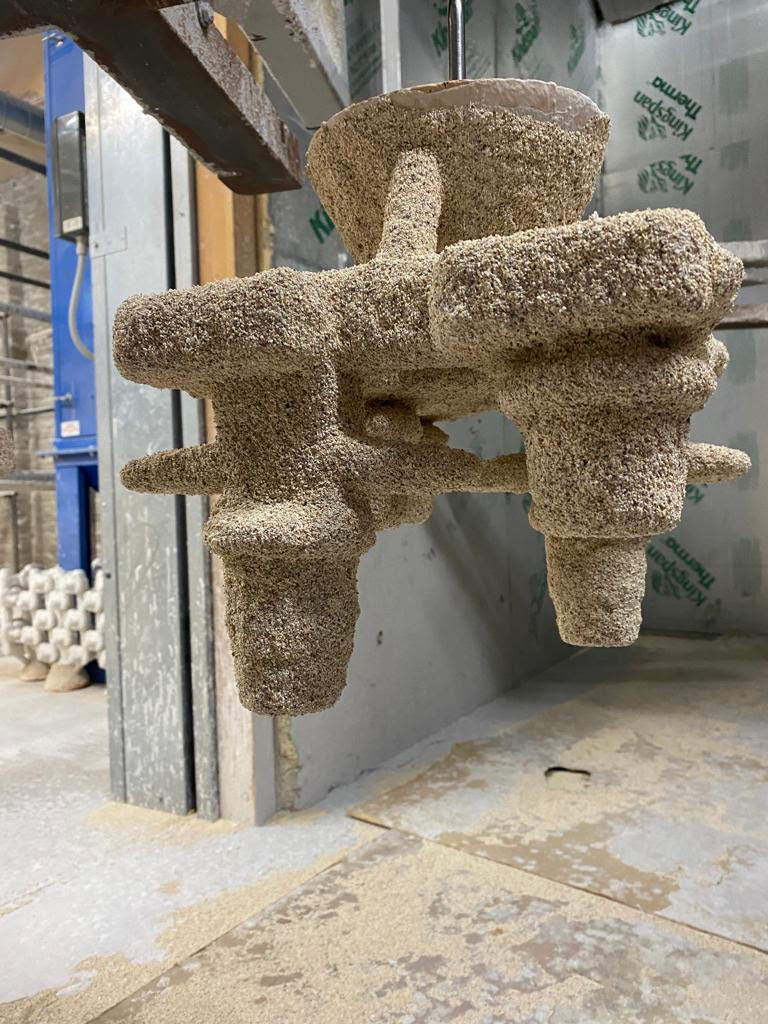
The tree is dipped repeatedly into a ceramic slurry and stuccoed with fine sand, building up a shell several millimetres thick. The shell is fired, which hardens the ceramic and melts the wax out, the "lost wax", leaving a hollow mould in the exact shape of the parts and their feed channels.
5. Raw castings, straight from the shell
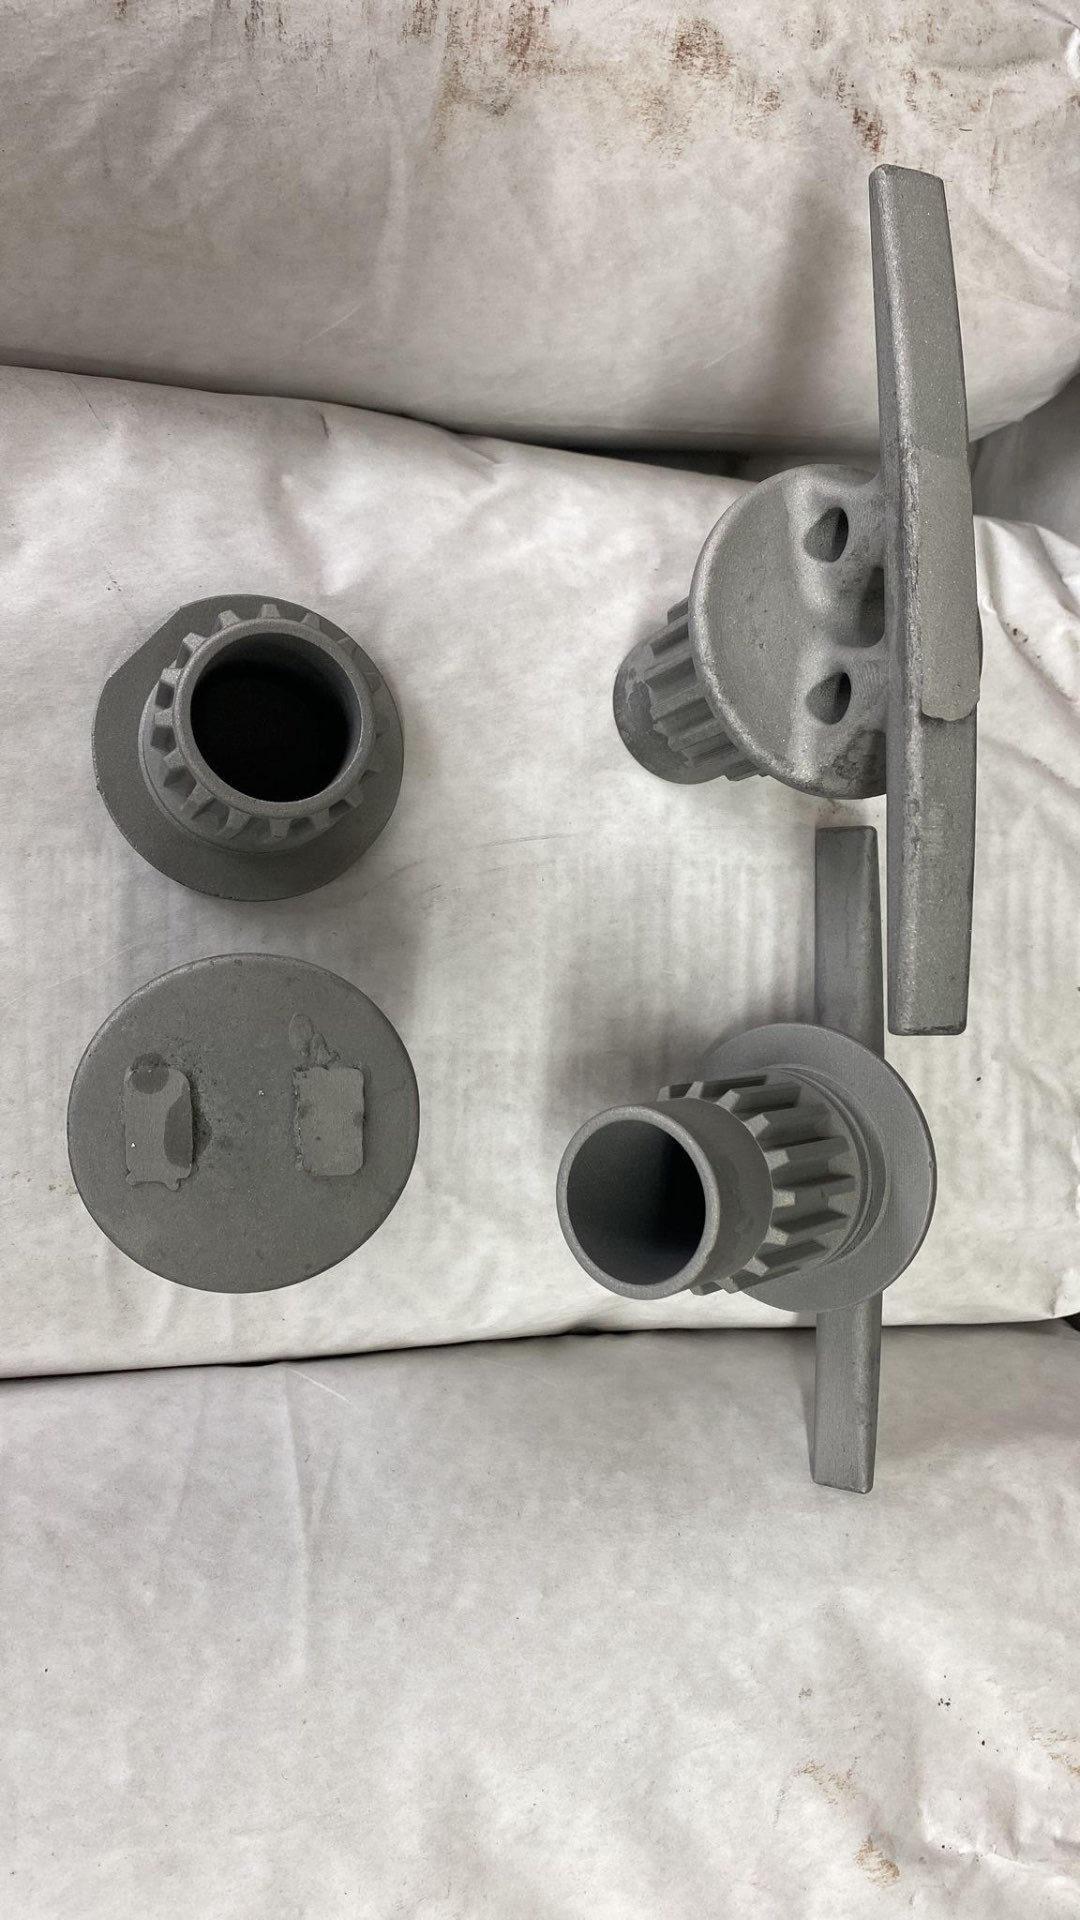
Molten 316 stainless is poured into the hot shell and allowed to solidify. Once cool, the ceramic is broken away and the parts are cut off the sprue. What comes out is rough, grey and unmistakably the shape we drew, surface texture from the ceramic, casting gates still attached, but every feature present and correct.
6. Cleaned, finished, ready to fit
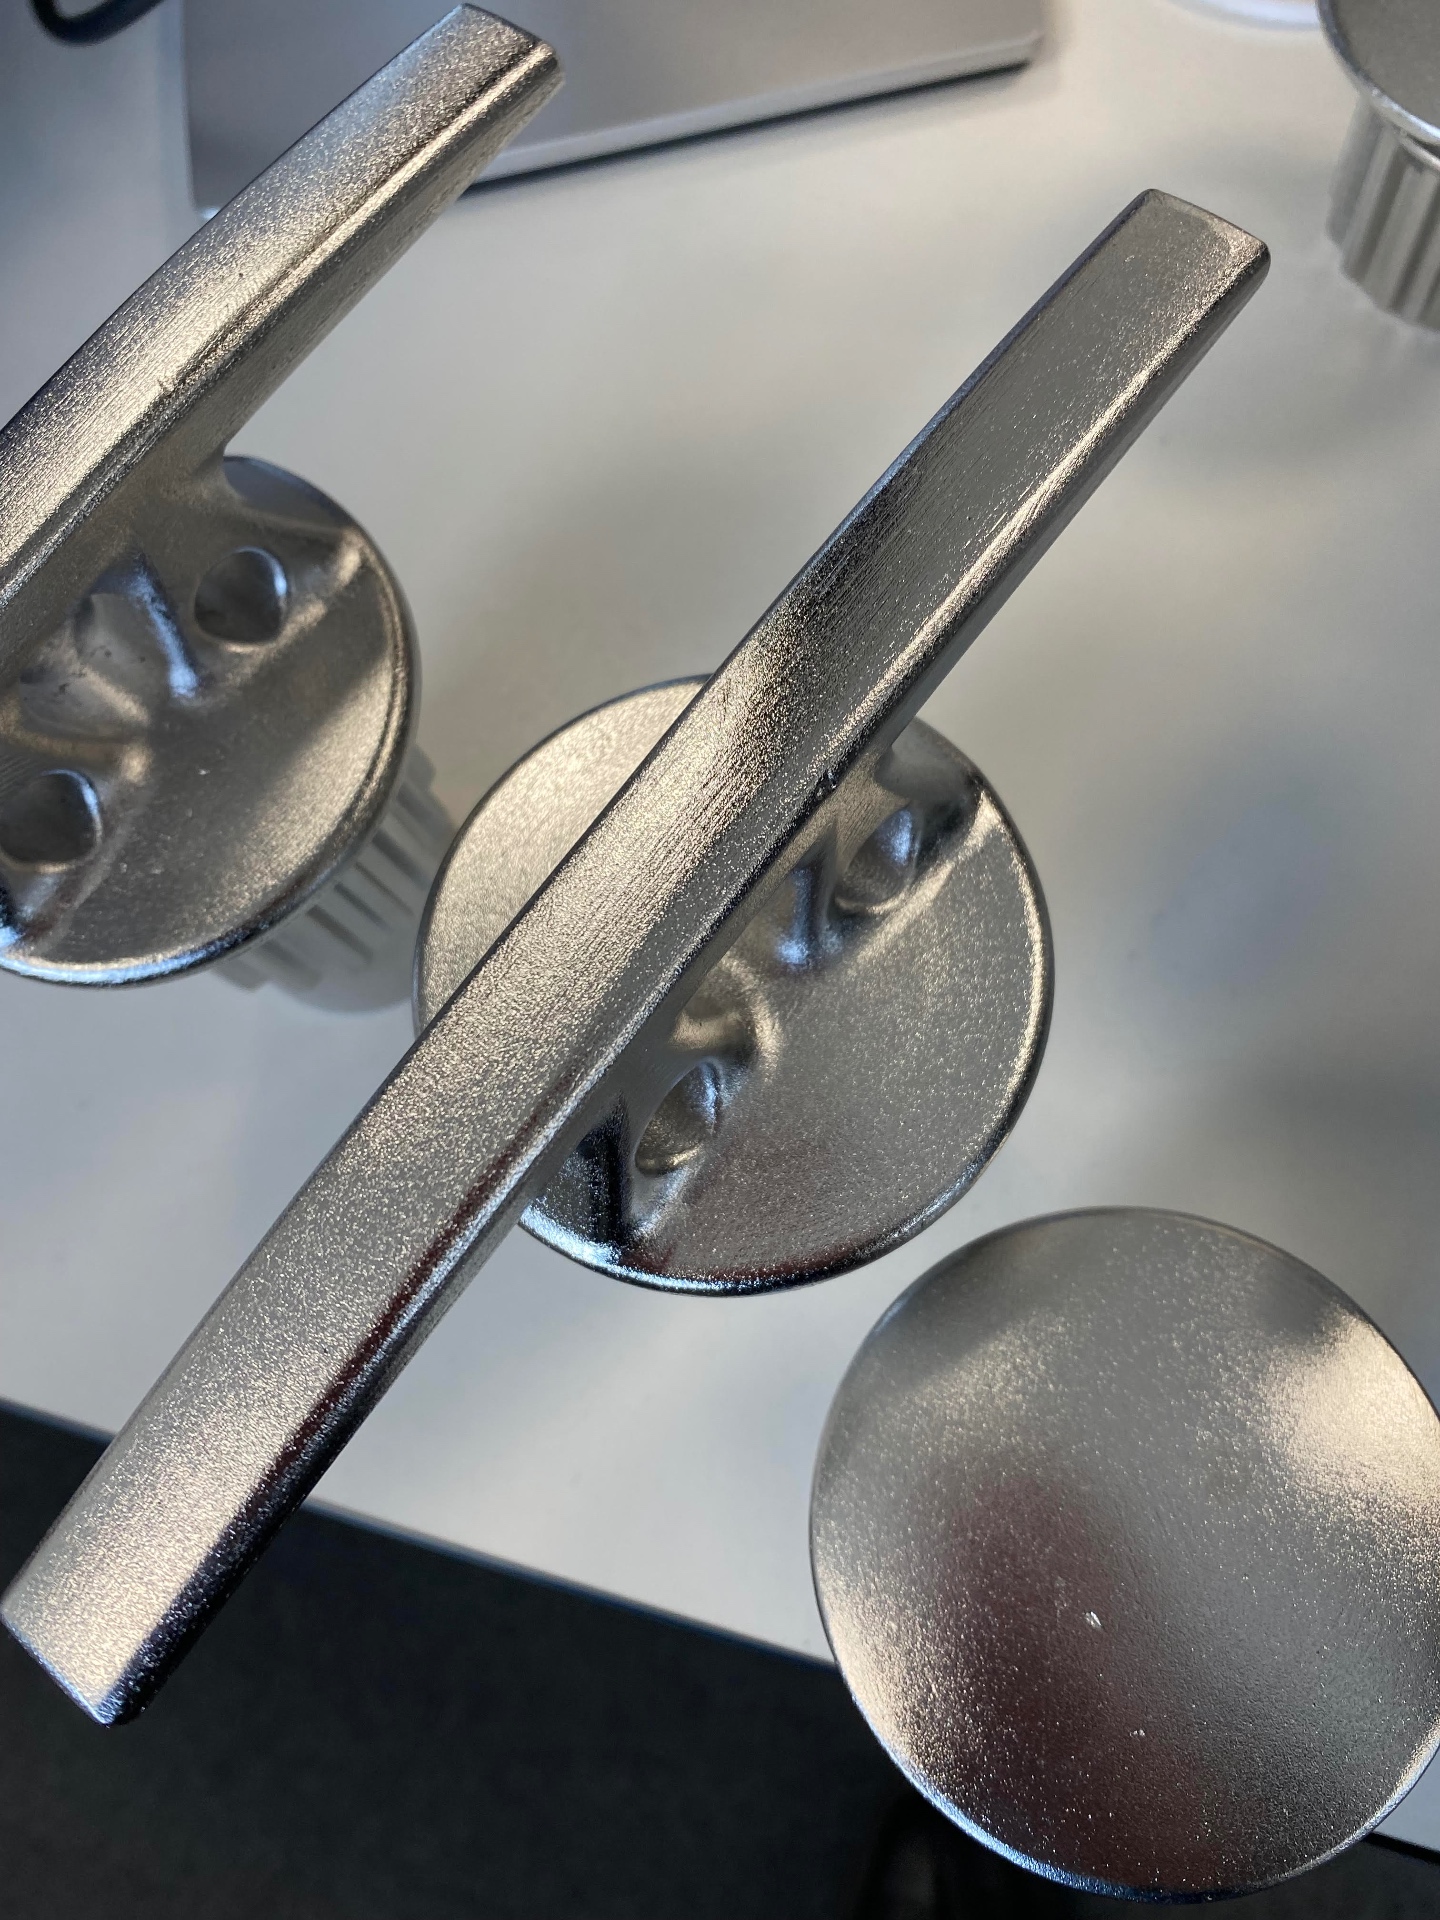
The raw castings are linished, ground and finished, gates removed, surfaces brought back to a clean satin. This is the part that gets laser-etched with the NM Engineering & Design logo, packed and shipped. From a digital model to a fitting bolted to a deck.
Why this route?
It's a longer process than machining from bar, but for shapes like these, undercuts, blended curves, hollow sections, it's the only way to get the strength of cast 316 with the geometry we actually want. Design that gets made, exactly as drawn.